# 👋 通过 docker 安装 mqtt
本地部署 MQTT Broker
docker run -d --name emqx -p 1883:1883 -p 8083:8083 -p 8883:8883 -p 8084:8084 -p 18083:18083 emqx/emqx
# mqtt 公有服务器地址
如果您不需要本地部署的 MQTT Broker,那么可以使用 EMQX 的线上公开版进行快速测试;
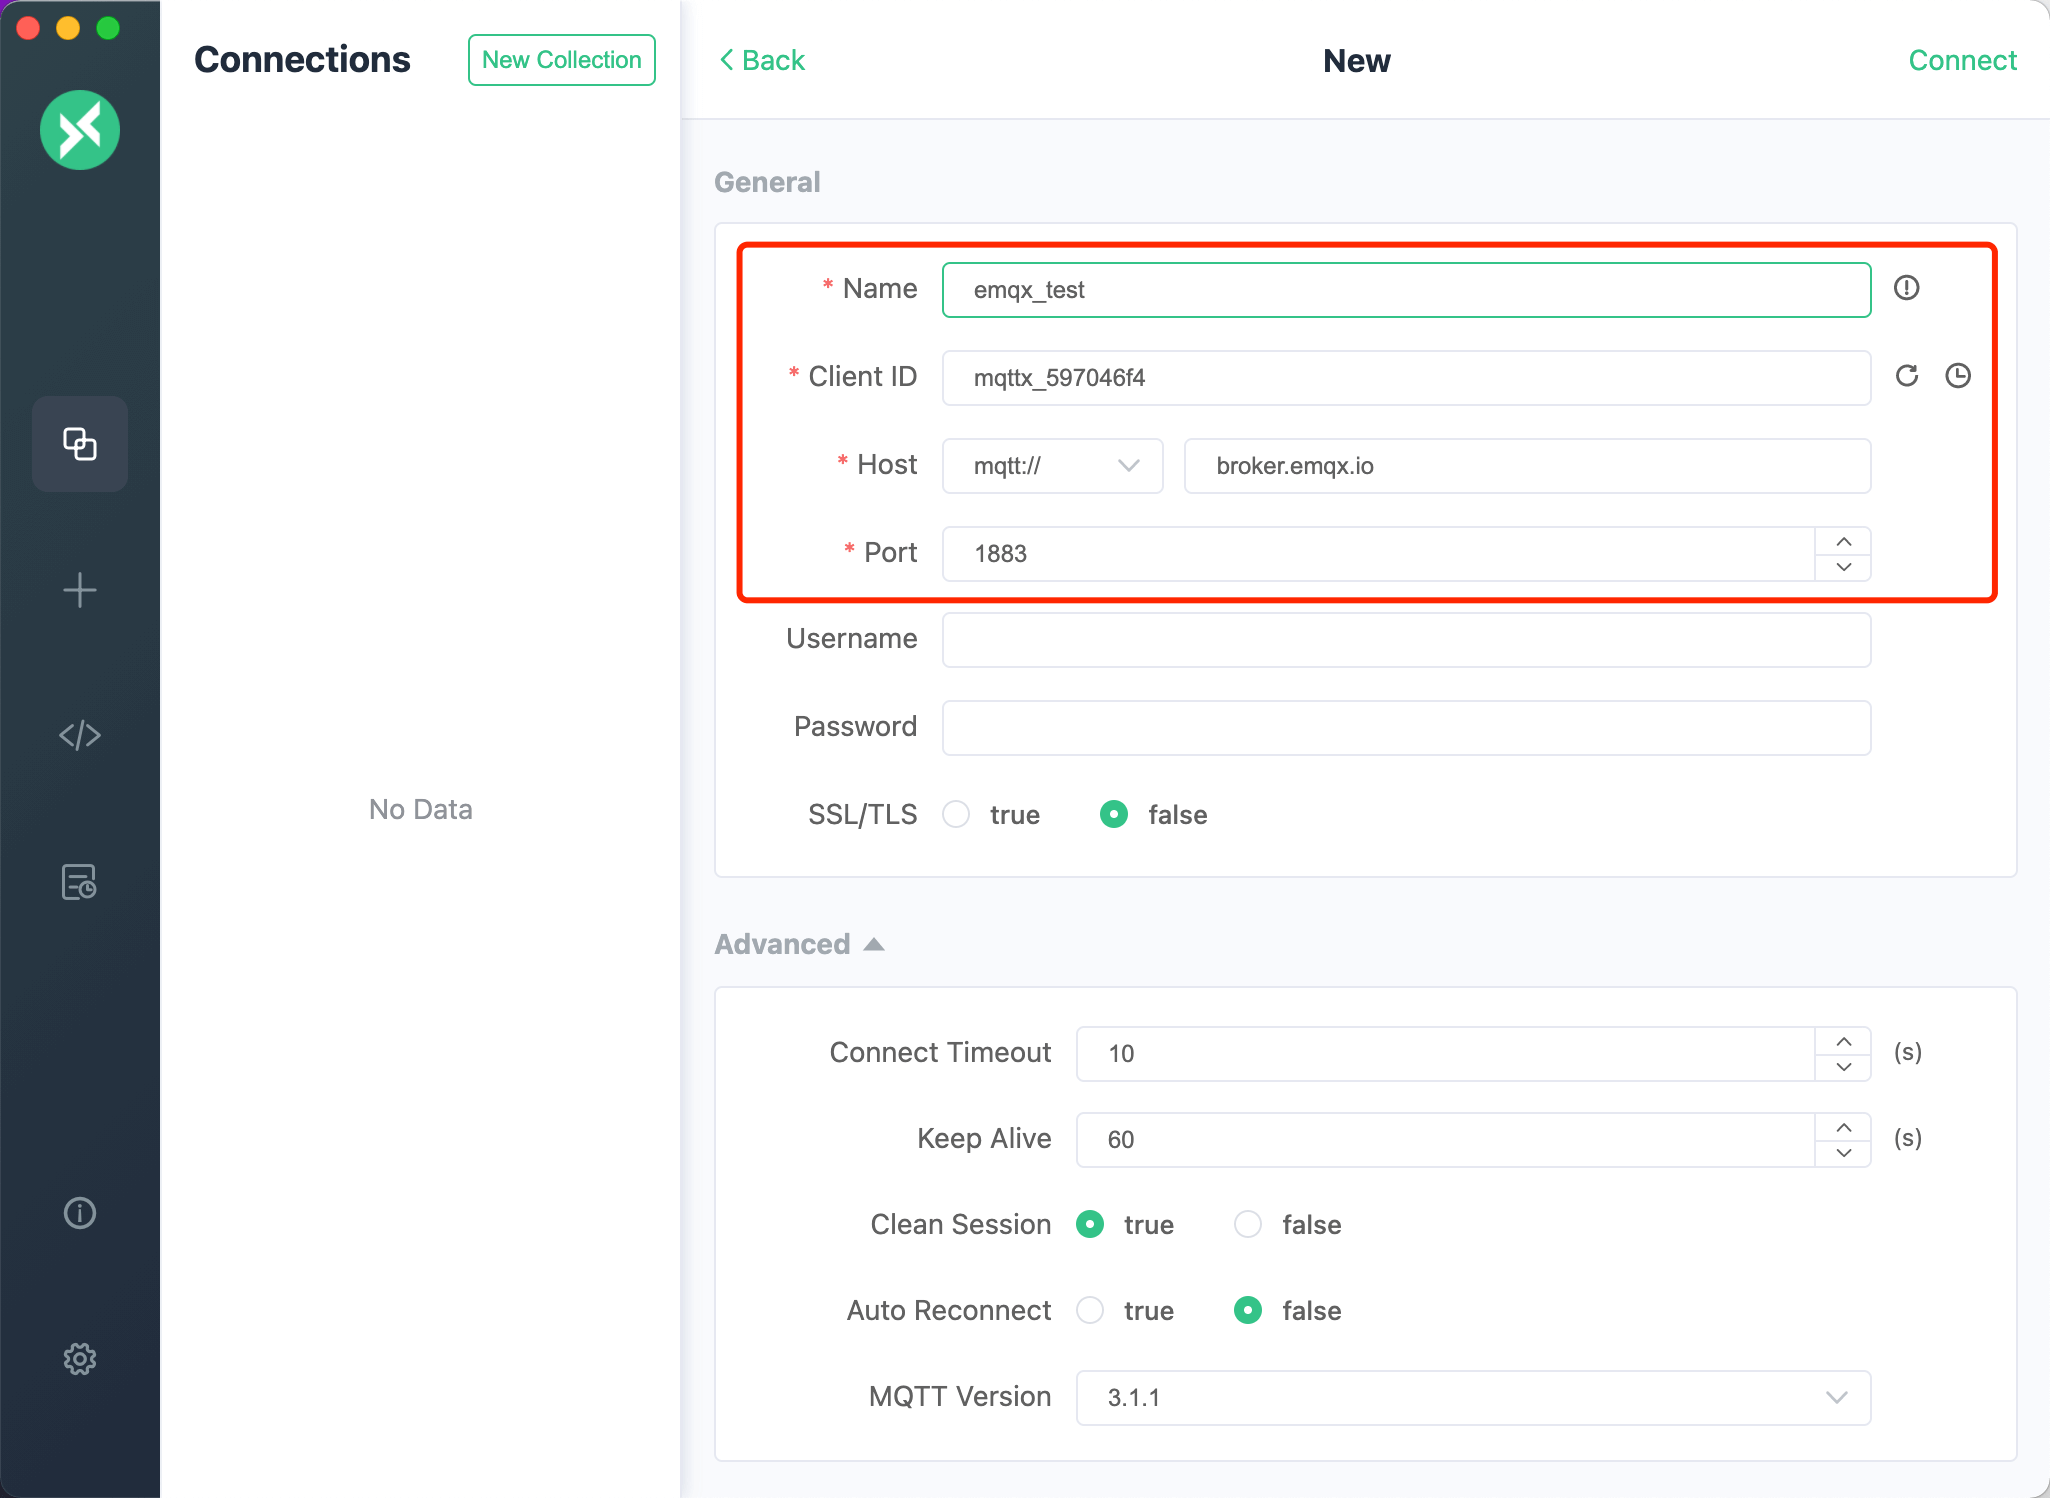
Broker 地址: broker.emqx.io
Broker TCP 端口: 1883
Broker SSL 端口: 8883
# 安装 GUI - MQTTX
# 使用 MQTTX GUI
一、建立 mqtt 连接

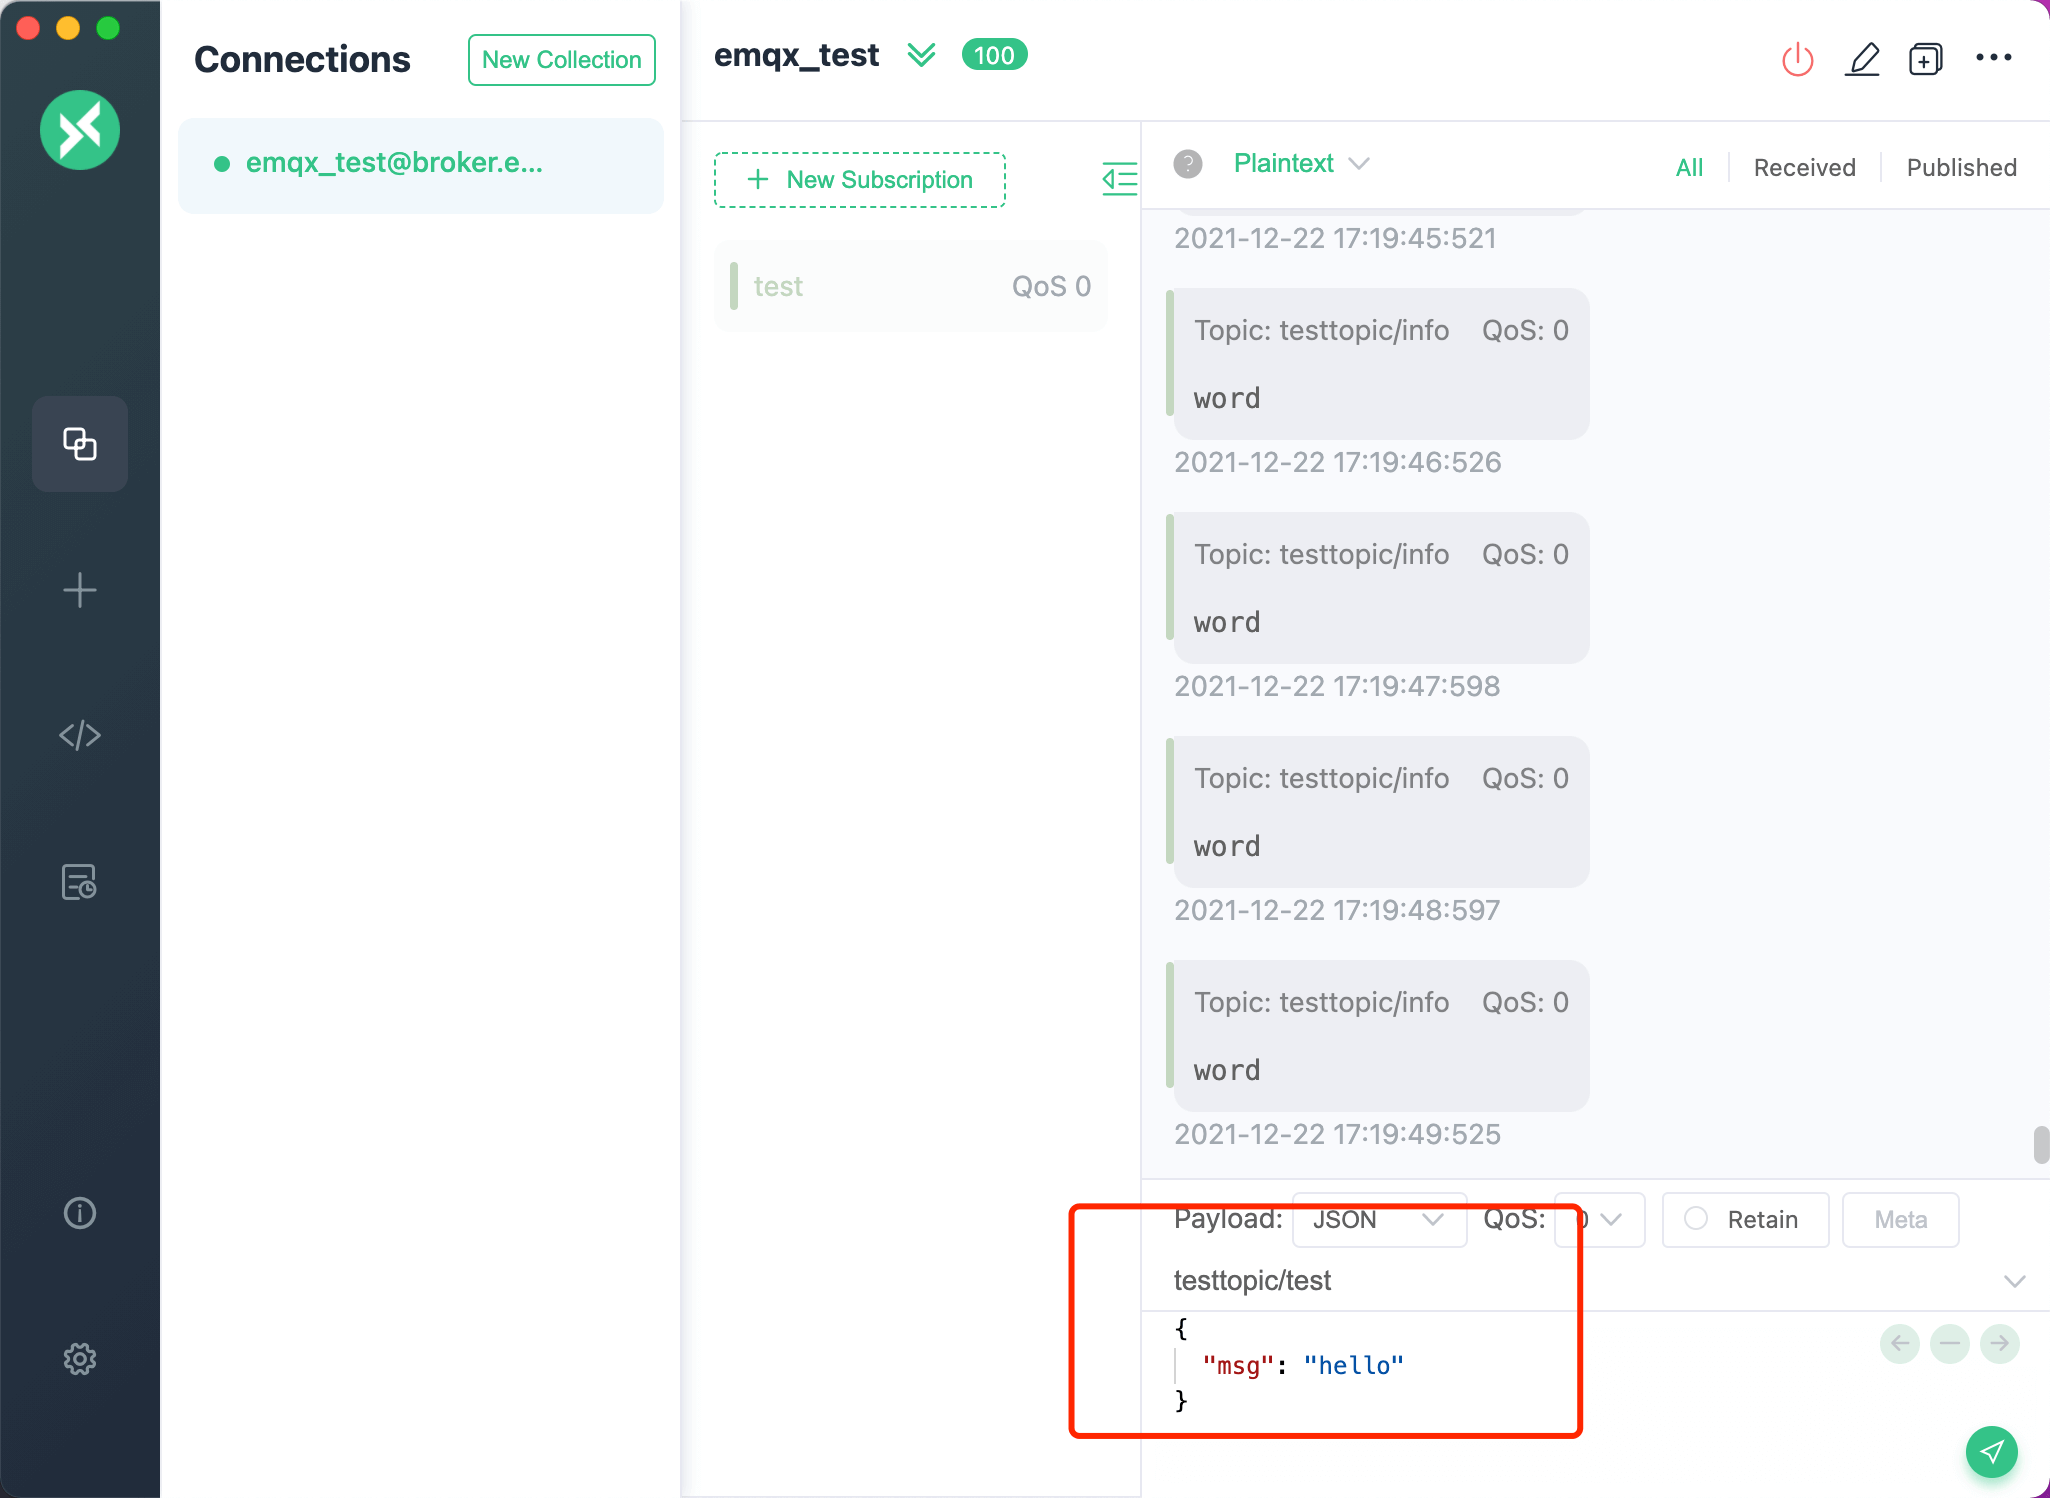
二、新建一个 topic 三、基于 topic 发送消息,注意在红框中选择 topic

# Node 代码实现简易收发消息
const mqtt = require('mqtt');
const host = '127.0.0.1';
const port = '1883';
const clientId = `mqtt_${Math.random() // 随机clientId
  .toString(16)
  .slice(3)}`;

const connectUrl = `mqtt://${host}:${port}`;
const client = mqtt.connect(connectUrl, {
  clientId,
  clean: true,
  connectTimeout: 4000,
  // username: 'emqx',
  // password: 'public',
  reconnectPeriod: 1000,
});

const topic = 'sapphire611';

client.on('connect', () => {
  console.log('Connected');
  client.subscribe([topic], () => {
    console.log(`Subscribe to topic '${topic}'`);
  });

  // client.publish( // 打开这个就会发送消息
  //   topic,
  //   'nodejs mqtt test',
  //   { qos: 0, retain: false },
  //   (error) => {
  //     if (error) {
  //       console.error(error);
  //     }
  //   }
  // );
});

client.on('message', (topic, payload) => {
  console.log('Received Message:', topic, payload.toString());
});
